Every pool loses water. How much is too much?
Every open pool in Cyprus loses water in summer. Sun, heat, wind and low humidity take it off the surface all day, and if the pool is uncovered and exposed, it goes faster still. So the fact that you are topping up does not on its own mean anything is wrong.
What you cannot do is judge it by eye. Evaporation here varies enormously from week to week depending on wind, humidity and whether the pool is covered, so "it seems like more than last month" is not evidence. Neither is a figure from a website written for a different climate.
The useful thing is that you do not need a number at all. You need a comparison, in the same weather, on the same day, and that is exactly what the bucket test gives you.
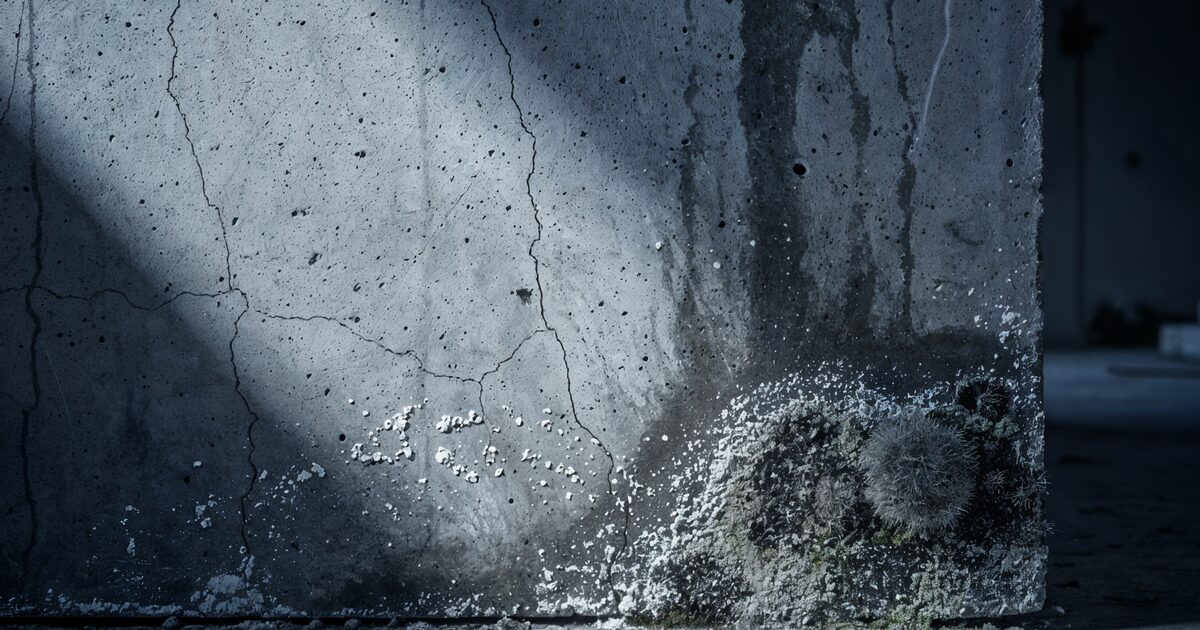
Worth doing it properly, because the cost of ignoring a real leak is not the water. It is what the water does on its way out. Escaping water goes into the ground around and beneath the pool. On the sloping plots that most villas around Kyrenia sit on, it tracks downhill towards the house, and it frequently turns up as damp in a lower ground floor or basement long before anyone connects the two. It also washes out the ground supporting the pool surround and, eventually, the pool.
The bucket test
Twenty-four hours, no equipment, and it settles the question.
How to do the bucket test
Bring the pool to its normal level
Top up to the level the pool usually runs at, which is roughly halfway up the mouth of the skimmer. Do the test over a settled period if you can, with no rain forecast and no unusually windy days.
Stand a bucket on the top step
Put a bucket on the top step so it is submerged enough to be stable and holds the same water temperature as the pool. Fill it with pool water to within a few centimetres of the rim. A weighted bucket that cannot tip or float is the whole trick.
Mark both levels
Mark the water level inside the bucket and the pool level on the outside of the bucket, using tape or a waterproof marker. Both marks now sit in the same air, the same sun and the same wind, so evaporation acts equally on them.
Turn off the automatic top-up
If you have an auto-fill, switch it off, otherwise it will quietly conceal the answer. Leave the pump running as it normally does. Nobody swims, and nobody splashes water out, for the duration.
Wait 24 hours, then compare
Read both marks. If the two levels have fallen by the same amount, what you are seeing is evaporation and the pool is sound. If the pool level has dropped clearly more than the bucket, the difference is your leak. Repeat over 48 hours if the result is marginal.
Repeat with the pump off
Run the test a second time with the filtration switched off for the full 24 hours. If the loss slows down or stops with the pump off, the leak is on the pipework and filtration side, under pressure. If it loses the same either way, the leak is in the shell or the fittings.
Two runs are worth far more than one
The pump-on versus pump-off comparison narrows the search enormously before anyone touches the pool. A leak that only appears with the pump running is in the pressure side of the pipework, which is a completely different job from a leak in the shell, and knowing that in advance saves both time and unnecessary demolition.
What the level tells you
If the bucket test confirms a leak, the next question is where, and the pool will often tell you if you stop topping it up and let it find its own level.
Water can only drop to the height of the hole. Where it stops is therefore roughly where the leak is.
- Stops level with the skimmer mouth: suspect the skimmer body or its junction with the pool wall. This is one of the most common leak points of all.
- Stops at an underwater light: suspect the light niche and its conduit, where the seal has failed or was never made properly.
- Stops at a specific line partway down the wall: look at that line. A crack, a failed movement joint or a pipe inlet at that height is the usual answer.
- Keeps dropping below all the fittings: the leak is in the shell itself, the floor, or the pipework below water level.
- Loses nothing when the pump is off: the pipework under pressure is the place to look, not the pool.
Other supporting signs are worth noting. Permanently soft, wet or unusually green ground on one side of the pool. Settlement or cracking in the paving around the surround. Air being pulled into the pump, or a drop in circulation pressure. Damp appearing in a basement or a lower ground floor room on the same side of the plot.
Why pools fail here
A pool in North Cyprus is under pressure from both directions at once, which is the thing that makes this climate harder on pools than most.
From the inside, the water itself is aggressive. Pool water runs at pH 7.2 to 7.8 with a chlorine concentration of 1 to 3 ppm, and that is a chemical environment that ordinary waterproofing is not designed for. Standard cement-based waterproofing products, the sort used in a bathroom, break down in chlorinated water within three to five years. If a bathroom product was used on a pool, it will fail, regardless of who applied it.
From the outside, winter rain between November and February raises the ground water table, and that water presses inwards against the pool shell. A pool waterproofed only on the inside face has nothing resisting that pressure from behind, and negative pressure of this kind is a common reason pools that were fine all summer start leaking after a wet winter.
On top of both, the thermal cycle. Summer air temperatures in the Kyrenia area reach 38 to 42°C during the day and fall to 22 to 25°C at night. That daily swing of 15 to 20 degrees runs the pool concrete through hundreds of expansion and contraction cycles a year, and the movement concentrates at movement joints and pipe penetrations, which is precisely where micro-cracks appear.
Add the UV load, which peaks at an index of 11 in July and is still at 9 in April and May, and the chloride from sea air on coastal plots, which drives corrosion of reinforcement, and you have a structure being attacked from four directions.
Inside waterproofing alone is not enough here
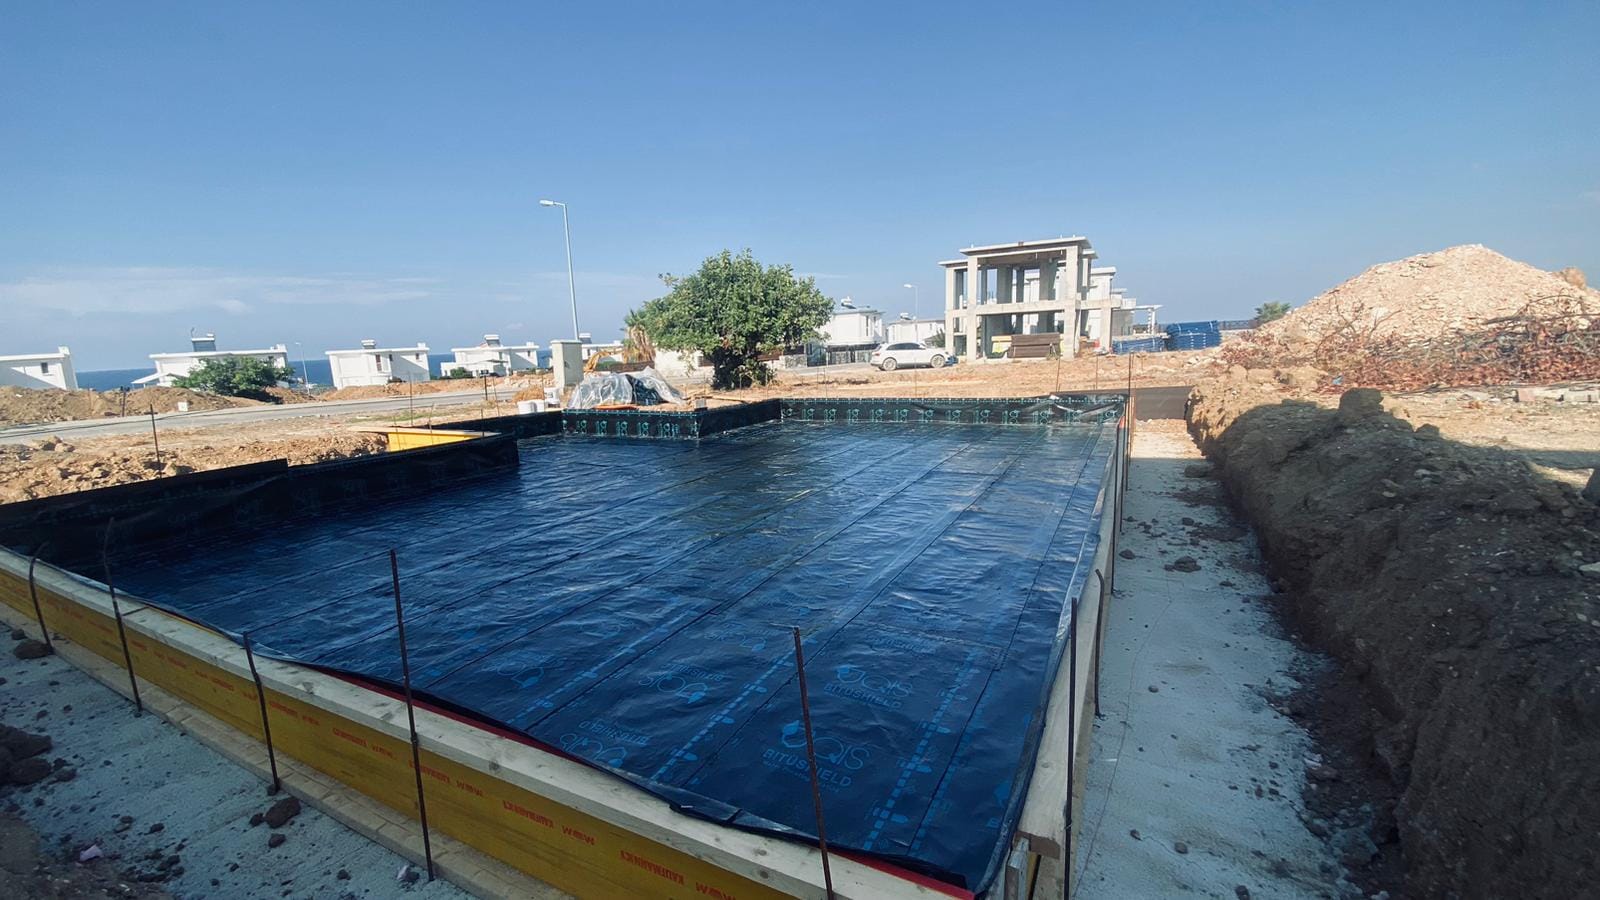
Because the pressure comes from both sides, a pool needs waterproofing on both. Internally, a crystalline system that reacts with moisture to grow crystals inside the pores of the concrete, becoming part of the structure rather than a coating that can peel. Externally, on the faces in contact with the ground, primer and a double layer of bituminous membrane. One without the other leaves a route open.
The usual failure points
Where pools here actually leak
- The skimmer box junction with the pool wall, where the two materials meet and move against each other
- Underwater light niches and their conduits, sealed with the wrong product or not sealed at all
- Pipe penetrations through the shell, without a proper sleeve or collar
- Movement joints filled with ordinary sealant instead of a flexible pool-grade product, which then splits
- Waterproofing applied to the inside only, with nothing resisting ground water pressure from outside
- Bathroom-grade cement-based waterproofing used in a chlorinated pool, which degrades within three to five years
- Tile grout used as if it were the waterproofing layer. It is not, and it never was
- Tiling laid over waterproofing that was never water tested, so a defect was sealed under the finish
The pattern behind most of these is the same: the flat areas are rarely the problem. The junctions are. Anywhere two materials meet, anything passing through the shell, and anywhere the structure is allowed to move is where the water finds its way out.
What a proper repair involves
Once the leak is located, the work is not complicated, but the sequence matters and none of the waiting can be skipped.
Pool waterproofing, done properly
Preparation
The pool is emptied and the finish stripped back where needed. On new construction, the concrete must have cured for a minimum of 28 days. Cracks are cut out in a V section and filled with repair mortar, all internal corners are formed with a cove fillet, and any release oil, dirt or loose material is cleaned off. Pipework and the skimmer must be finished and in place before waterproofing starts.
The outside face, where accessible
Where the external faces can be reached, a bitumen primer is applied and left 4 to 6 hours. A first 3 mm membrane layer is torched on, then after a day a second 4 mm layer is laid with the joints offset. Corners are reinforced. XPS boards are placed over the membrane to protect it from damage during backfilling.
Detail the fittings
The skimmer surround, the light niches and every pipe penetration are detailed individually with sleeves and waterproofing mortar. Reinforcing tape goes into all internal corners, and mesh reinforcement is used at the floor to wall junction. This is the slow part, and it is where the leaks were.
The inside face: crystalline system
The concrete is thoroughly wetted first, to a saturated but matt-damp surface, because crystalline material must not go onto dry concrete. The first coat is brushed on horizontally, then a second coat is applied vertically, crosswise, before the first has dried, to a total of 2 to 3 mm at roughly 1.5 to 2 kg per m². It is not applied in the heat of the day above 35°C, because it cures too fast and the crystal growth is compromised.
Cure it, and do not rush it
The surface is kept damp for 3 to 5 days after application so the crystalline reaction can develop fully. The ideal air temperature for the work is between 8 and 30°C, with no rain expected. Curing time is not a stage to compress to fit a holiday letting booking.
Water test, 7 days
The pool is filled to about half and left three days while the level is monitored, then filled fully and left a further seven days. The maximum acceptable loss is 0.5 cm per day, excluding evaporation. A pool that fails this test does not get tiled. Finding the defect now costs a fraction of finding it after the tiling is down.
Tiling and grouting
Once the test passes, tiles are fixed with a pool-grade adhesive, not general purpose tile adhesive, and bedded fully with no voids behind them. Joints are filled with epoxy grout rather than standard grout, and the underwater corner details are sealed with a flexible pool-grade sealant.
Repair, renovation or rebuild
The three situations, and what each involves
| Situation | What you get | What to watch | Relative cost |
|---|---|---|---|
| New pool, waterproofed during construction | The correct sequence, inside and outside, with nothing buried | The 28-day concrete cure has to be respected, not rushed | Lowest. Nothing to undo later |
| Renovation of a working pool | A chance to upgrade the whole system while it is open | Stripping the old finish and checking the ground conditions add time | Moderate. Extra labour and materials |
| Leak repair on a pool already losing water | The loss stops, and the damage around it stops with it | Locating the leak is the hard part, and tiling usually has to come up | Highest. Investigation, repair and re-finishing |
The general rule holds firmly with pools: dealing with a leak after it starts costs several times what building the waterproofing correctly would have cost, because you pay to find it, to strip and replace the finish, and often to repair whatever the escaping water damaged elsewhere on the plot.
On timing, new pool waterproofing runs to about 5 to 7 days, and a renovation of an existing pool 7 to 10 days, with the water test and curing bringing the total to as much as two weeks. Work needs air temperatures between 8 and 30°C and no rain, which in practice makes spring and autumn the comfortable seasons, with high summer workable if the crystalline application is kept out of the middle of the day.
Keeping a pool watertight
Pool maintenance that protects the waterproofing
| Task | How often | Why |
|---|---|---|
| Check water chemistry, pH and chlorine | Weekly | Water out of balance attacks the waterproofing and the tiling faster than anything else |
| Visual check for cracks and discolouration | Monthly | Early detection is a small repair; late detection is a strip out |
| Check grout joints and sealant | Every 6 months | Joints separate over time and are the most common leak point |
| Professional inspection | Annually | Surface wear and the condition of the waterproofing layer |
| Full technical assessment | Every 5 years | Confirms the system still has life in it before problems start |
Do not drain the pool for the winter
Between November and February the ground water level rises. A full pool balances that pressure from the inside. An empty shell in that period is resisting ground water with nothing pushing back, and can crack or lift. If the pool has to be emptied for work, the timing and the ground conditions are planned around, rather than the pool simply being left standing empty through the wet season.
If your pool is losing water, do the bucket test first. It costs nothing and it tells you whether you have a problem at all. If it confirms a leak, the next step is finding it, and that is worth doing before it starts undermining the surround or showing up as damp in the house.
We have been waterproofing pools, roofs, terraces and basements across North Cyprus since 1999, from a base on Ankara Caddesi in Alsancak, just outside Kyrenia. We survey free of charge, put the scope and the price in writing before anything starts, work in English throughout, and our waterproofing installations carry a 5-year workmanship guarantee. Call us on +90 533 831 14 32 or email [email protected].
More on our waterproofing and damp proofing work, or look through recent projects. If the pool leak has already caused damp inside the building, our guide to damp and mould in North Cyprus homes covers what to do about that side of it.